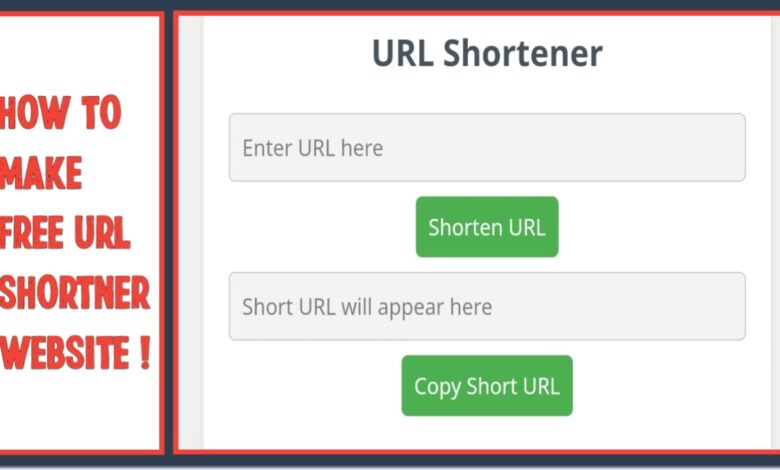
How To Make URL Shortener Website With Blogger
Assalamu Alaikum. Welcome to another new post on Tricknew. I am SWAPON with you, hope everyone is doing well. Friends, those of us who currently have websites or those of us who do various online marketing work, all of us shorten or shorten various long or big links based on our work or needs. Because it benefits our users as well. Because it is a problem to see too many links and it is also a cause of annoyance to send them to others for some work. Due to which long link need to be shortened. Friends, in the beginning of our url shortener website creation phase, we will know why you should use link shortening url.
The main purpose of URL shortener website is to shorten or shorten a long link. It is convenient for users. Link shortener basically works like this:
- Analytics: Link Shortner can collect a lot of information in many small spaces.
- Link To Make The Link Short Or Beautiful: The long links that are large or bad to look, that are removed for some time.
- Link Change: When an old link is removed, a new place or address on a server refers to modifying or changing the address stage of special spaces.
You can use a website or service to shorten the link where you can shorten your link. But today we will make the link shortening website for free with the blogger. So let’s go to main topic without saying no more.
If you want to make a link to shorting the link for free with a blog, you must first create a website in the BLOGGEE WEBSITE , so you go to Blogger’s official website.
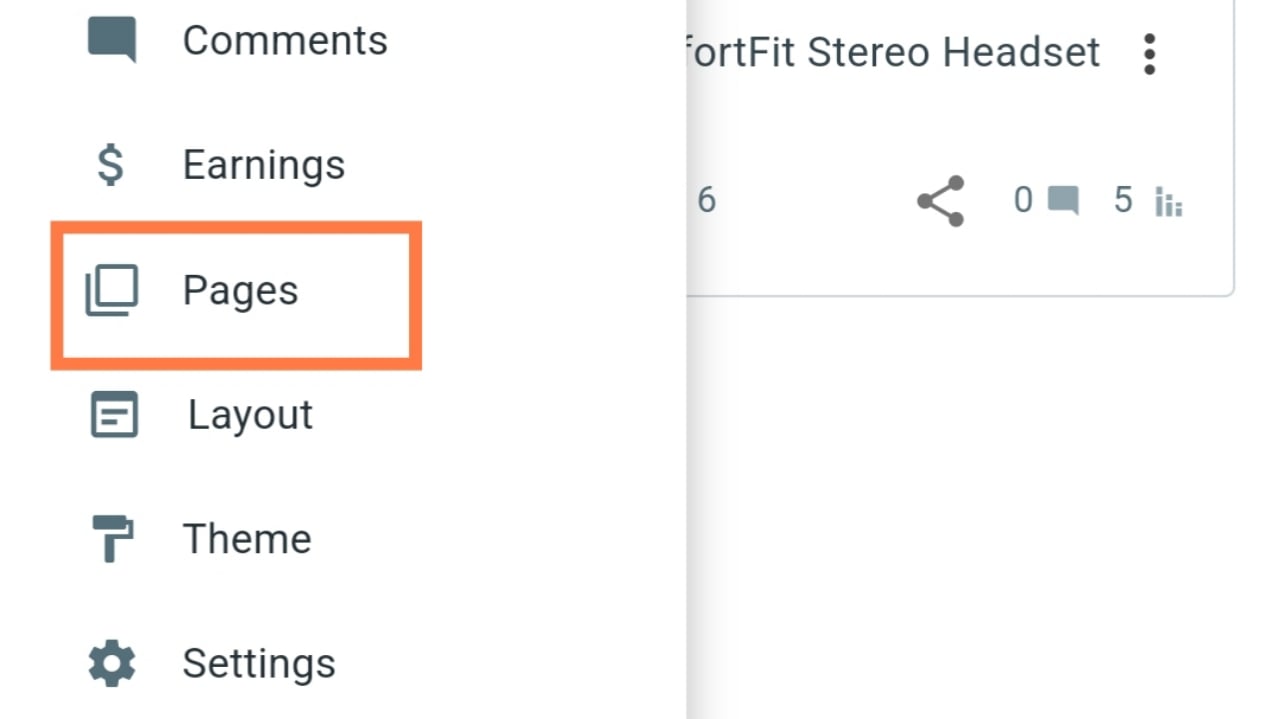
Now you will create a new website with Blogger for free. After creating the free website, our task is to create a link shortener website. We need to open a new page to create URL Shortening website. So for this you click on Page option.
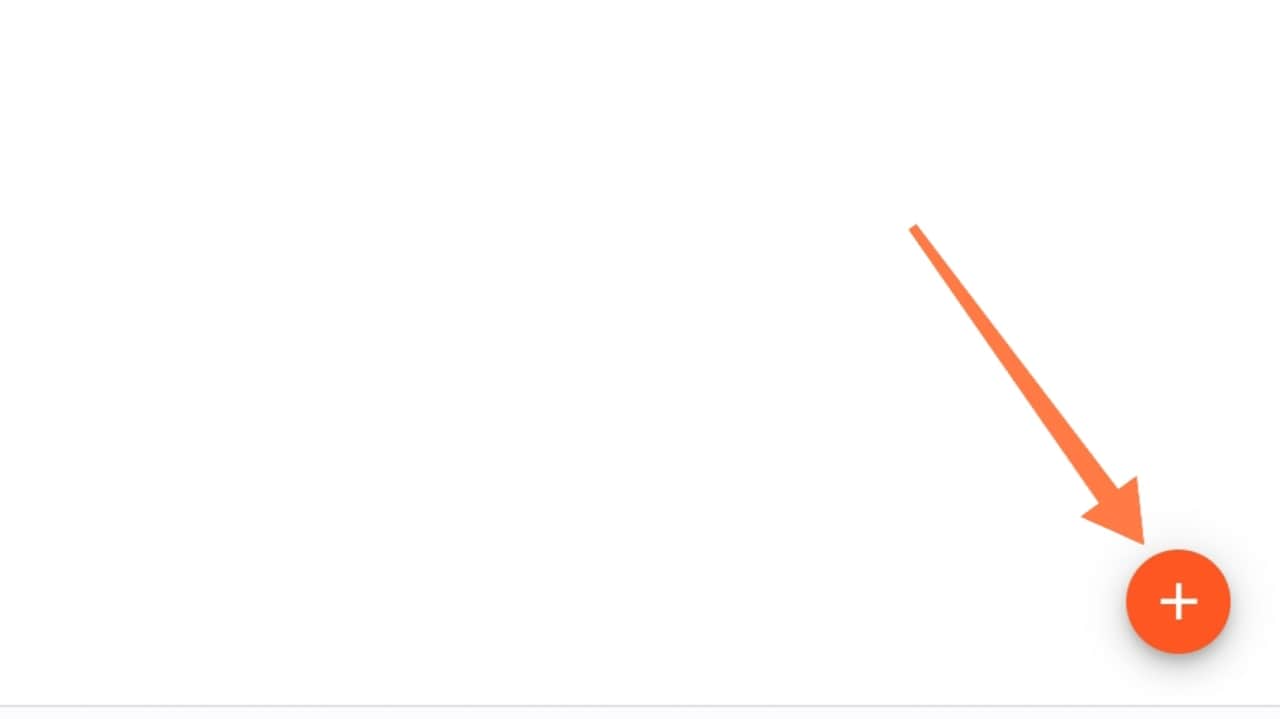
Then you will click on the (+) icon option.
Now a page like below will show in front of you. Now make the page as HTML View.
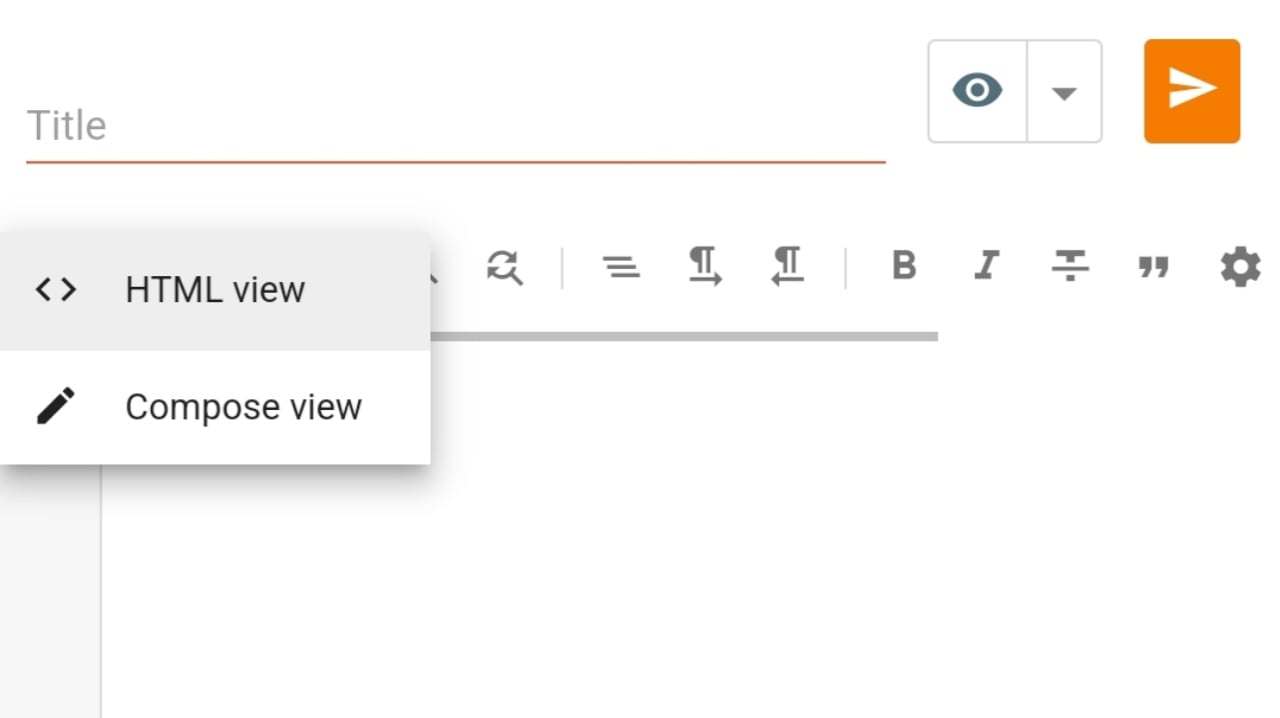
Copy The HTML Code:
<html> <head> <style> body { font-family: Arial, sans-serif; background-color: #f0f0f0; margin: 0; padding: 0; } .container { max-width: 600px; margin: 0 auto; padding: 20px; background-color: #ffffff; box-shadow: 0 2px 5px rgba(0, 0, 0, 0.1); border-radius: 5px; } h1 { text-align: center; } .shorten-url-container { display: flex; flex-direction: column; align-items: center; margin: 10px 0; } .shorten-url-container input[type="text"], .shorten-url-container button { padding: 10px; font-size: 16px; border: 1px solid #ccc; border-radius: 5px; margin: 5px; } .shorten-url-container input[type="text"] { flex: 1; } .shorten-url-container button { background-color: #4CAF50; color: white; cursor: pointer; border: none; } .shorten-url-container button:hover { background-color: #45a049; } .short-url { margin-top: 20px; font-size: 16px; word-break: break-all; background-color: #f5f5f5; padding: 10px; border-radius: 5px; text-align: center; } .copy-button { background-color: #008CBA; } </style> </head> <body> <div class="container"> <h1>URL Shortener</h1> <div class="shorten-url-container"> <input type="text" id="urlinput" placeholder="Enter URL here"> <button id="urlbutton" onclick="shortenUrl()">Shorten URL</button> <input type="text" id="urloutput" placeholder="Short URL will appear here" readonly /> <button class="copy-button" onclick="copyShortUrl()">Copy Short URL</button> </div> <div class="short-url" id="urloutput"></div> </div> <script> function shortenUrl() { const longUrl = document.getElementById('urlinput').value; const apiKey = 'd3025ebe64c749d29651624eb4af2ad6'; // Add your Rebrandly API Key here const apiEndpoint = 'https://api.rebrandly.com/v1/links'; const requestHeaders = { 'Content-Type': 'application/json', 'apikey': apiKey, }; const requestData = { destination: longUrl, }; fetch(apiEndpoint, { method: 'POST', headers: requestHeaders, body: JSON.stringify(requestData) }) .then(response => response.json()) .then(data => { if (data && data.shortUrl) { document.getElementById('urloutput').value = data.shortUrl; } else { alert('Error: Unable to shorten URL.'); } }) .catch(error => { alert('Error: ' + error.message); }); } function copyShortUrl() { const shortUrl = document.getElementById('urloutput').value; const textarea = document.createElement('textarea'); textarea.value = shortUrl; document.body.appendChild(textarea); textarea.select(); document.execCommand('copy'); document.body.removeChild(textarea); alert('Short URL copied to clipboard!'); } </script> </body> </html>
Then paste the following HTML codes on this page.
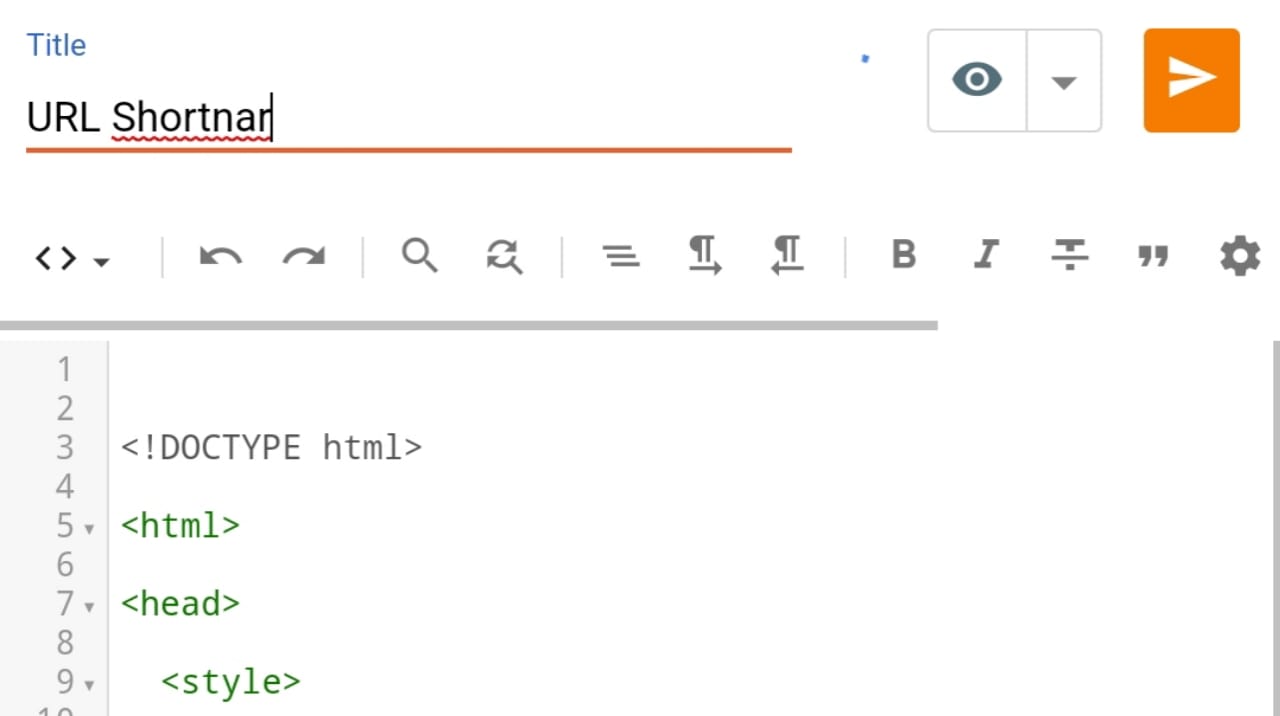
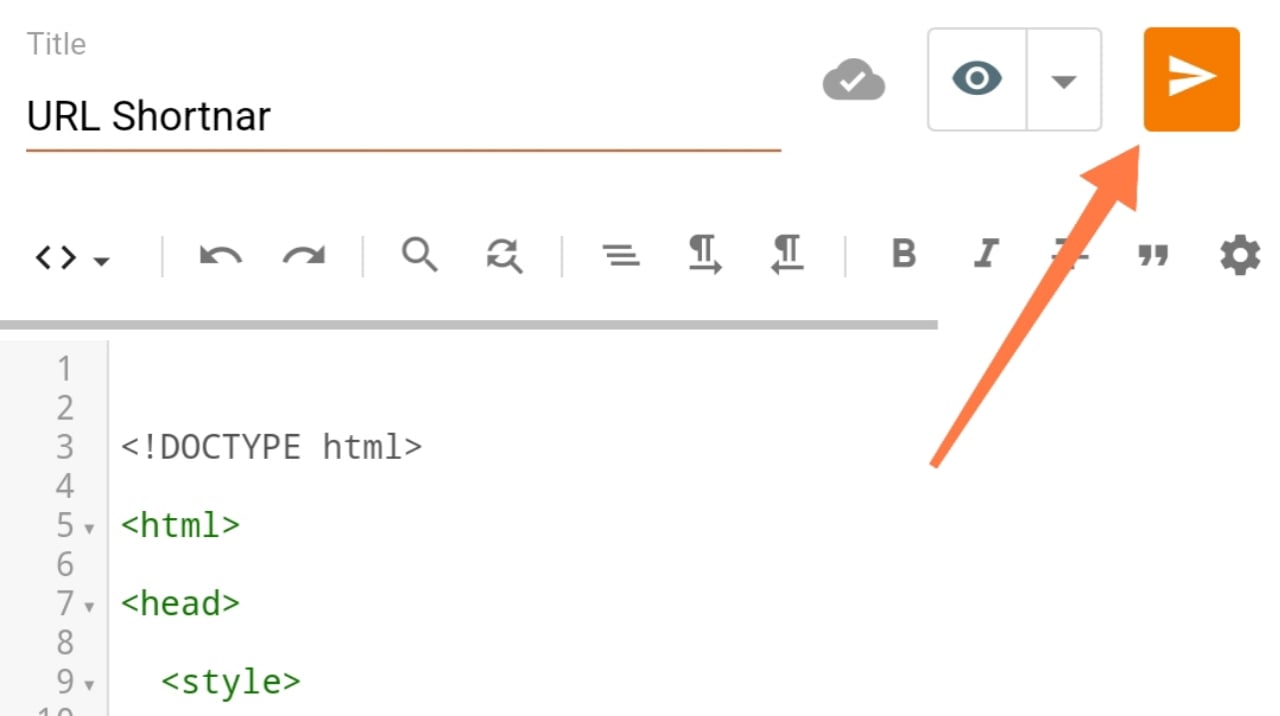
If all the above tasks are done correctly, publish the page by clicking on the Publish Page option.
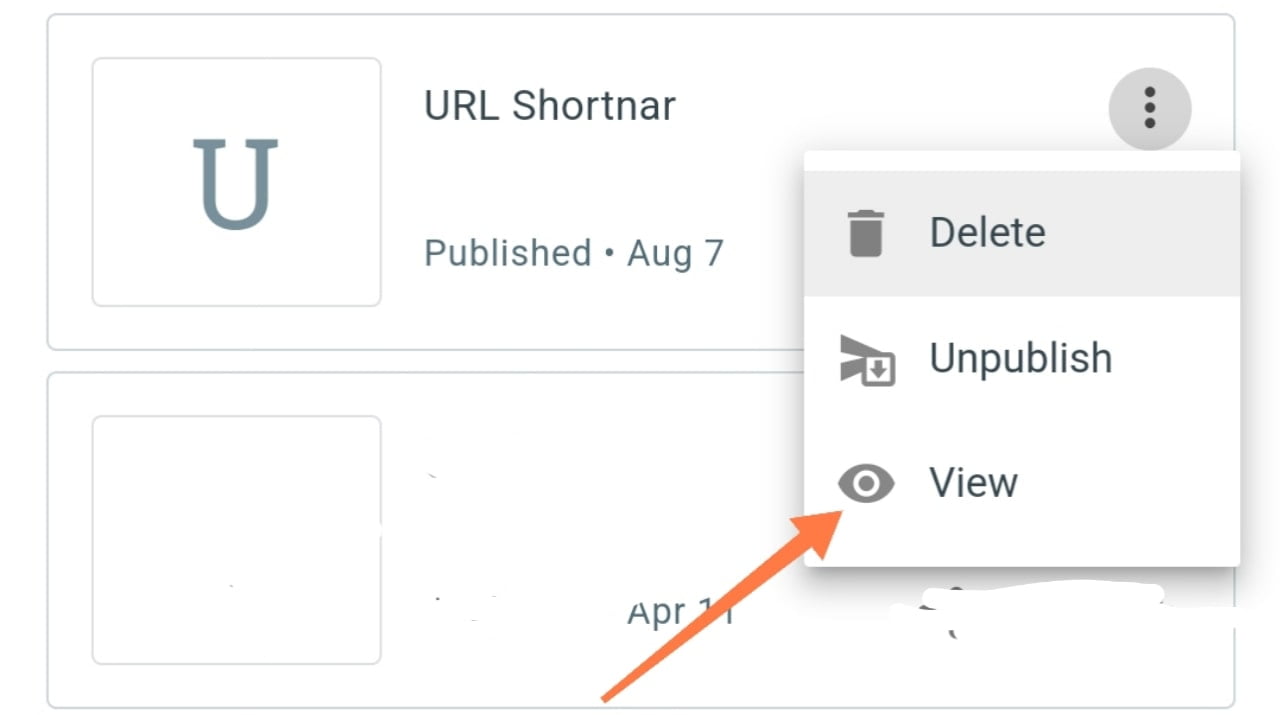
Now visit the page that you published. To visit the published page, click on the page’s three-dot menubar.
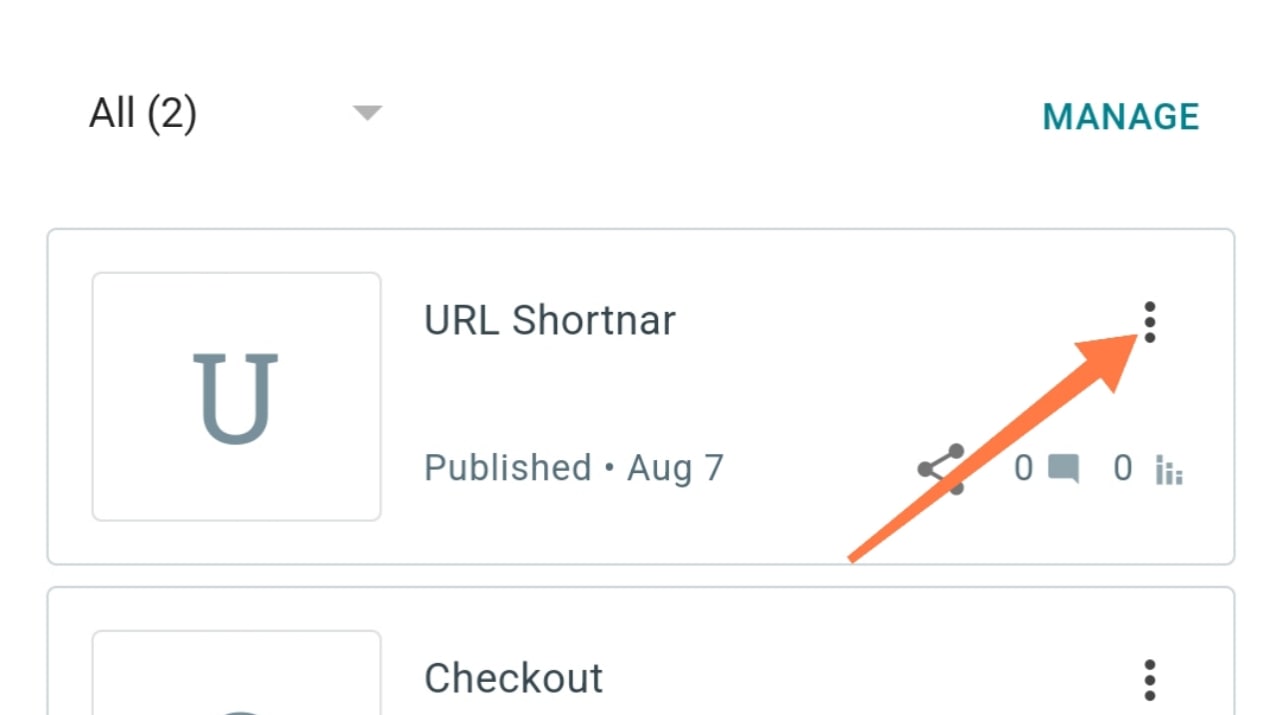
Then you click on the View option.
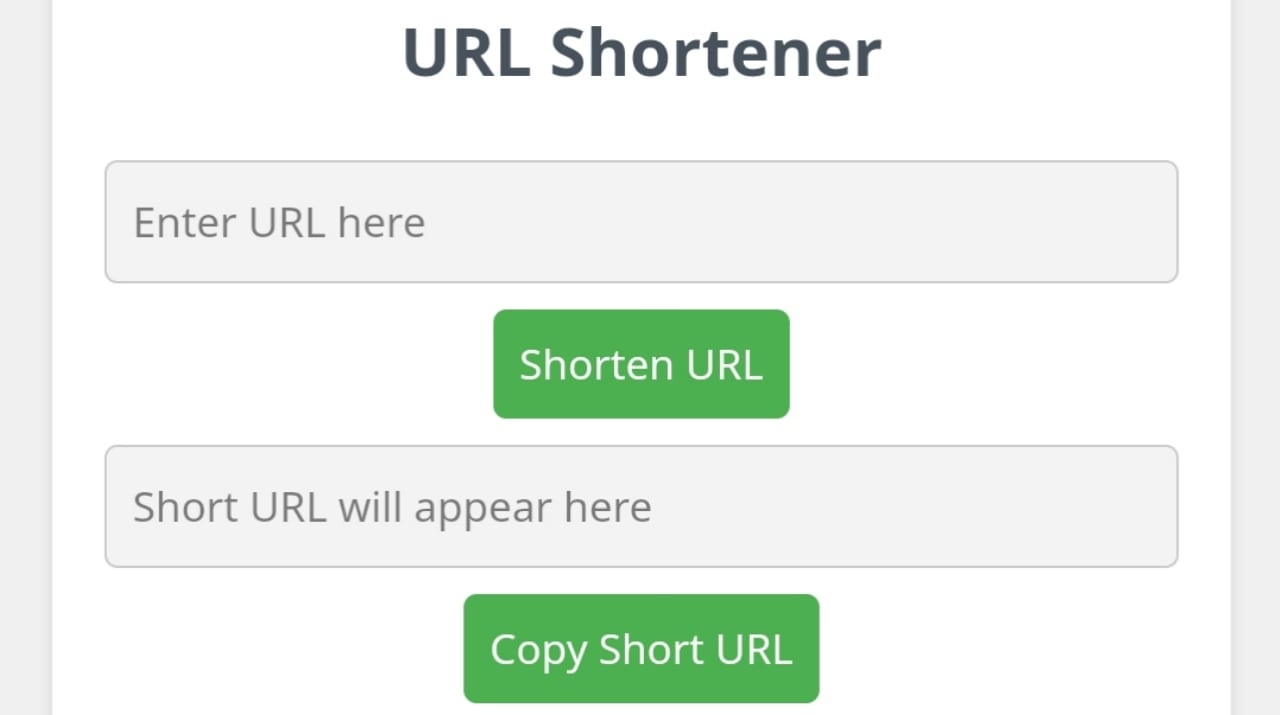
So friends, with our source code, we made a link shortener website for free on Blogger.
 So friends this was our post today, how to create a link shortener website on blogger totally free. Hope the post will be helpful for you. I’m leaving here, see you in the next post with something new. Until then everyone stay well stay healthy and stay with TrickNew.


